Application > Pressure Vessels
Pressure Vessels
Comprehensive solution for everything related to pressure vessels
Background
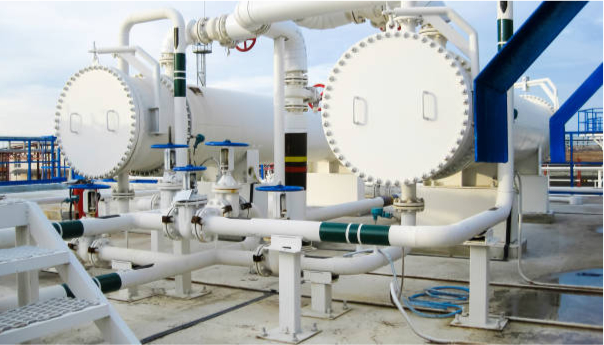
Pressure vessels can range from boilers, heat exchangers or reactors for example, and fusion-welded are those of a sufficiently high standard of manufacture to comply with the requirements of certain recognised specifications. Regardless of the typology, the necessity of nondestructive testing during the entire life cycle of these equipments is ever present. The methods that can serve this purpose vary depending on the scope of the testing but for volumetric check of welds, radiography has stood as a go-to solution for many decades.

Challenges
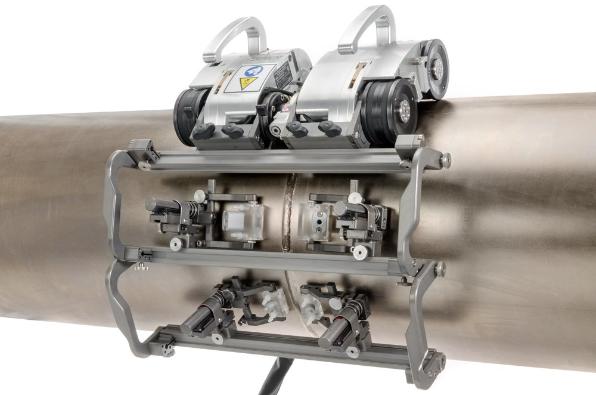
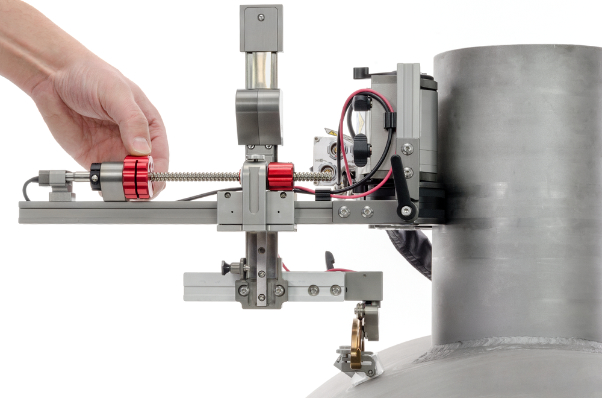
In recent years, phased array and TOFD have supplanted radiography in terms of productivity, safety and non-disruptive workflow. When it comes to pressure vessel volumetric inspection, PAUT and TOFD are able to tackle every weld configuration with very few limitations – especially when compared to radiography. One of the more challenging test procedures of this kind is nozzle scanning with 3 axis data encoding. Our Pragma3D software supports 3 axis encoding and renders all PAUT data with absolute fidelity in terms of true positioning of the flaws and that is regardless of skew angles and probe offsets used. This capability is absolutely critical for assets in the nuclear industry, where repeatability, traceability and absolute precision are of the utmost importance.
Our software can even account for CRA cladding material with different sound velocities and attenuation values for accurate sizing of all flaws needed for critical engineering assessment.

Boiler Tubes
Historically, radiography has been the golden standard for volumetric control of these welds. This obviously involved risks for the operators performing the tests and in the case of tests during the maintenance phase, hazards for the personnel of any given plant. Thicker components also posed a significant problem since image fidelity would degrade as the distance to film increased. Since no technique available at that time would ensure full traceability and a permanent record of the test, radiography was held as the only possibility regardless of it’s limitations.
Nozzle Scanning
Historically, radiography has been the golden standard for volumetric control of these welds. This obviously involved risks for the operators performing the tests and in the case of tests during the maintenance phase, hazards for the personnel of any given plant. Thicker components also posed a significant problem since image fidelity would degrade as the distance to film increased. Since no technique available at that time would ensure full traceability and a permanent record of the test, radiography was held as the only possibility regardless of it’s limitations.

