Ultrasound
Using sound to evaluate the integrity of materials
Ultrasonic Testing
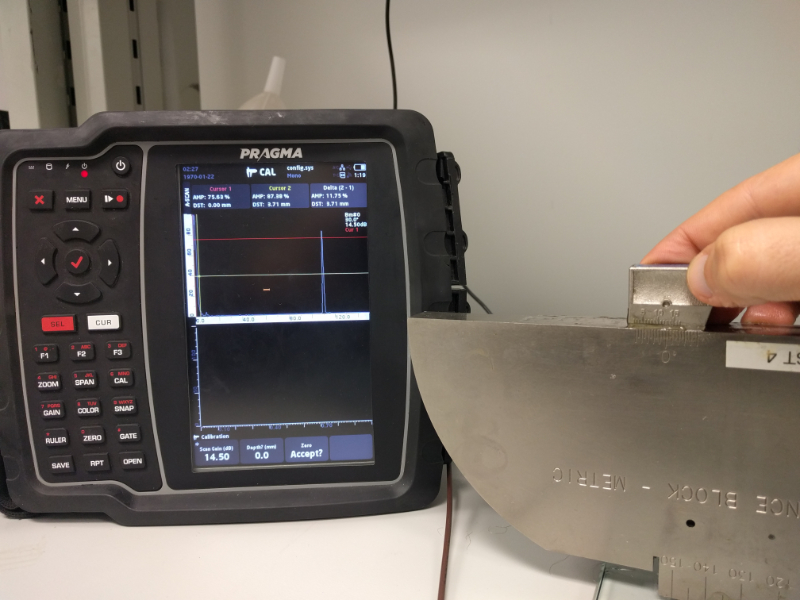
Ultrasound testing is a nondestructive method in which beams of high-frequency sound waves are introduced into materials for the detection of surface, subsurface or internal flaws in the material. The sound waves travel through the material with some attendant loss of energy (attenuation) and are reflected at interfaces (as described here). The reflected beam is displayed and then analyzed to define the presence and location of flaws or discontinui ties.
Depending on the fabrication process of the part, there’s a myriad of discontinuities that can be detected. Examples such as cracks, laminations, shrinkage cavities, bursts, flakes, pores, disbonds, and other discontinuities that produce reflective interfaces are well within the range of ultrasonic testing. Inclusions and other inhomogeneities can also be detected by causing partial reflection or scattering of the ultrasonic waves or by producing some other detectable effect on the ultrasonic waves.

Ultrasonic inspection is one of the most widely used methods of nondestructive inspection. Its primary application in the inspection of metals is the detection and characterization of internal flaws; it is also used to detect surface flaws, to define bond characteristics, to measure the thickness and extent of corrosion, and (much less frequently) to determine physical properties, structure, grain size, and elastic constants.
Advantages
-
High sensitivity, permitting the detection of extremely small flaws
-
Greater accuracy than other nondestructive methods in determining the position of internal flaws, estimating their size, and characterizing their orientation, shape, and nature
-
Operation is electronic, which provides almost instantaneous indications of flaws. This makes the method suitable for immediate interpretation, automation, rapid scanning, in-line production monitoring and process control.
-
Volumetric scanning ability, enabling the inspection of a volume of metal extending from front surface to back surface of a part
Disavantages
-
Manual operation requires careful attention by experienced technicians
-
Extensive technical knowledge is required for the development of inspection procedures
-
Parts that are rough, irregular in shape, very small or thin, or not homogeneous are difficult to inspect
-
Couplants are needed to provide effective transfer of ultrasonic wave energy between transducers and parts being inspected
Phased Array
Multi-element technology (a.k.a. phased array) allows creating acoustic beams that will have the same characteristics as a beam produced by the conventional technology (a.k.a. mono-channel or mono-transducer): width, depth of field, half-angle divergence, etc. However, the multi-element technology allows changing the beam properties by fast electronic reprogramming. This is why we call a multi-element system a « beamformer ». We typically change 4 things with electronic means: aperture size, aperture position, transmit angle, and focus depth.

Advantages
-
High sensitivity, permitting the detection of extremely small flaws
-
Greater accuracy than other nondestructive methods in determining the position of internal flaws, estimating their size, and characterizing their orientation, shape, and nature
-
Operation is electronic, which provides almost instantaneous indications of flaws. This makes the method suitable for immediate interpretation, automation, rapid scanning, in-line production monitoring and process control.
-
Volumetric scanning ability, enabling the inspection of a volume of metal extending from front surface to back surface of a part
Disavantages
-
Manual operation requires careful attention by experienced technicians
-
Extensive technical knowledge is required for the development of inspection procedures
-
Parts that are rough, irregular in shape, very small or thin, or not homogeneous are difficult to inspect
-
Couplants are needed to provide effective transfer of ultrasonic wave energy between transducers and parts being inspected
